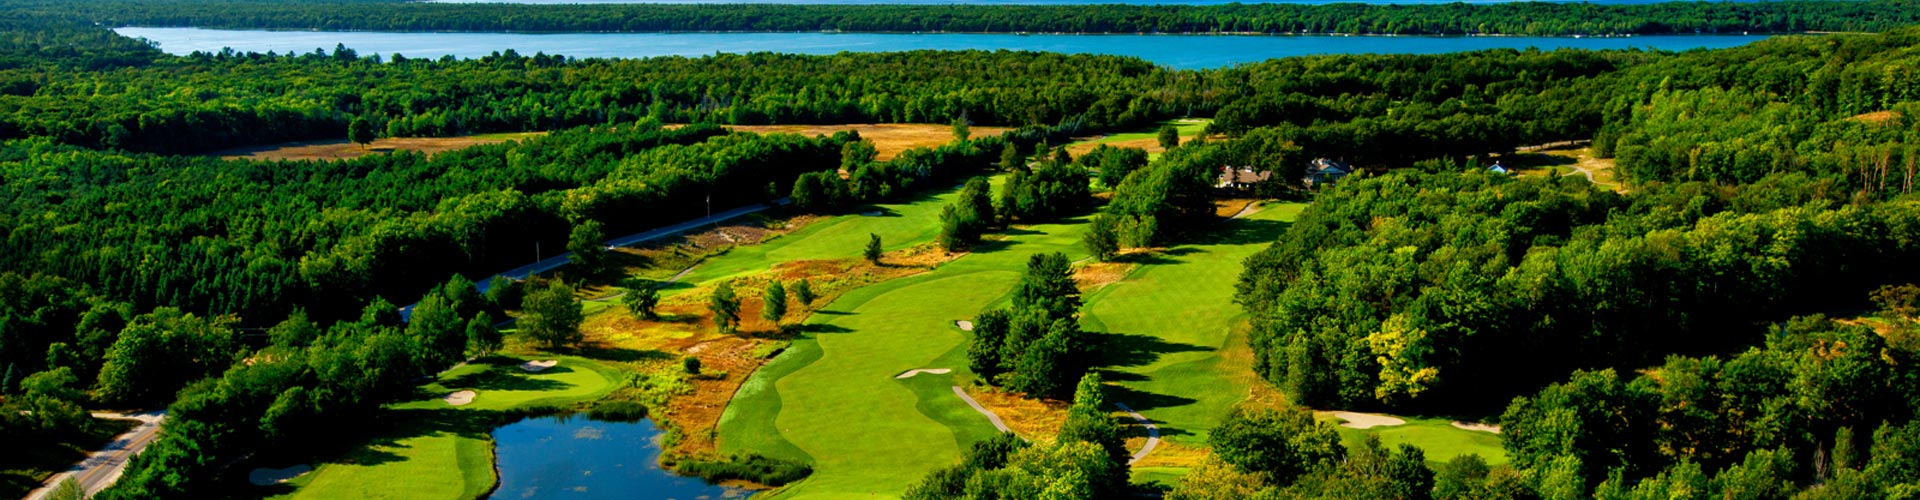
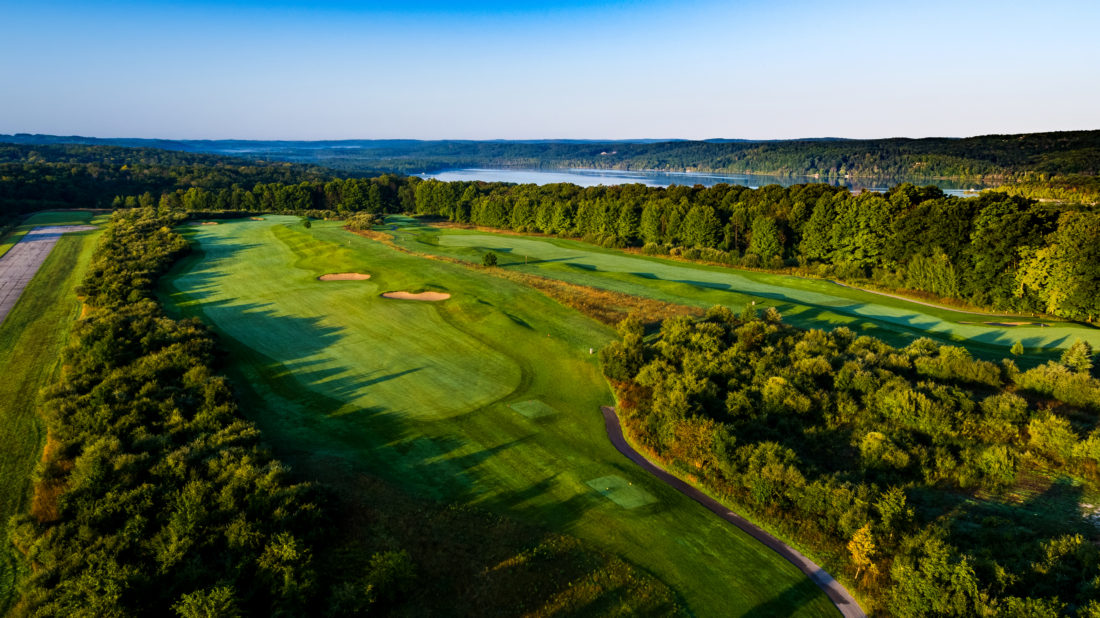
Palmer’s team faced a design challenge brought on by the area’s history of glacial formation. Moraines and outwash plains from melting glaciers characterized the lower elevations. Long ridges or “drumlins” characterized the higher. Numerous shallow and some deep drainage ways were in the intricate and rapidly changing relief throughout the site. Slopes as steep as 45% and sandy soils gave rise to extreme risks of erosion. The Palmer team’s solution begins in a sprawling meadow at the lowest elevation, climbs over several miles to the peak and returns to finish in the meadow. Along the way, carefully framed views of fescue filled meadows, hardwood forests, expansive ridges, sparkling ponds and the Manitou Passage await the golfer.
-
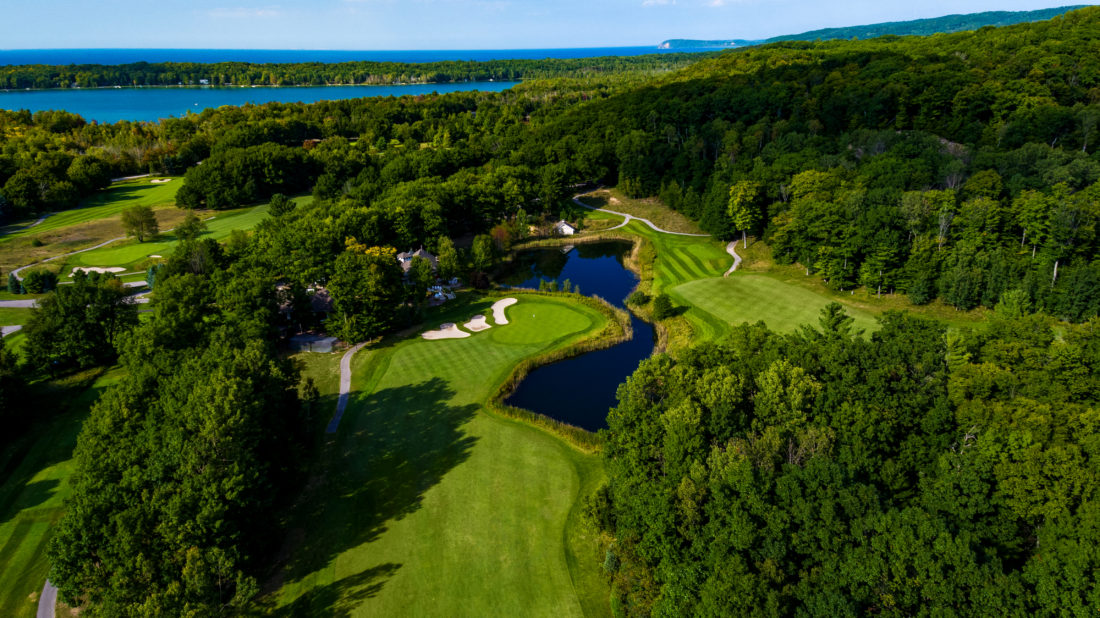
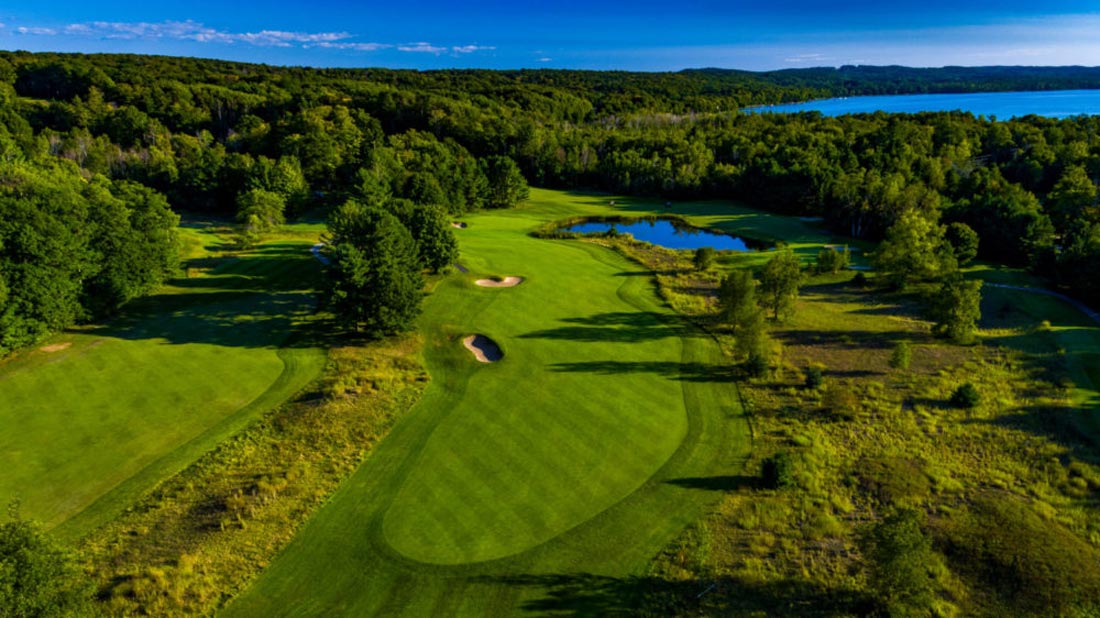
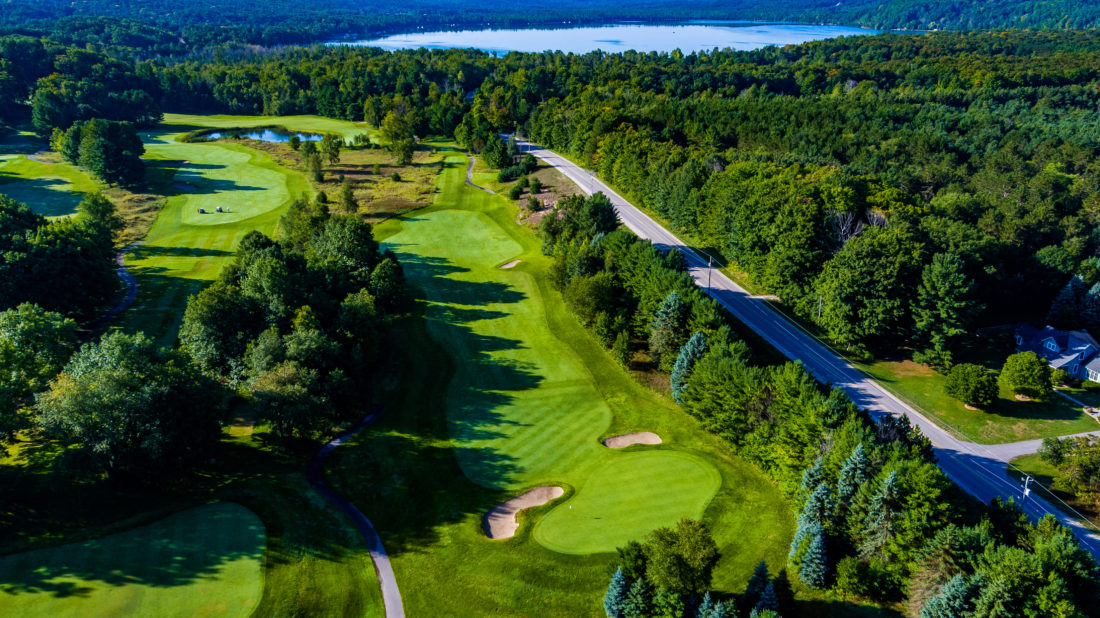
No 1 Par 4 | Handicap 7
This challenging 428-yard Par 4 opening hole has a fescue-lined fairway and relatively tight landing area. Its green is protected by water on the right and a bunker on the left. Par is a good score here and those who make it will build confidence for the balance of the round.
Pro Tip: A slight dogleg left with trouble down the left. Favor the right-center off the tee for the best approach to the green.
-
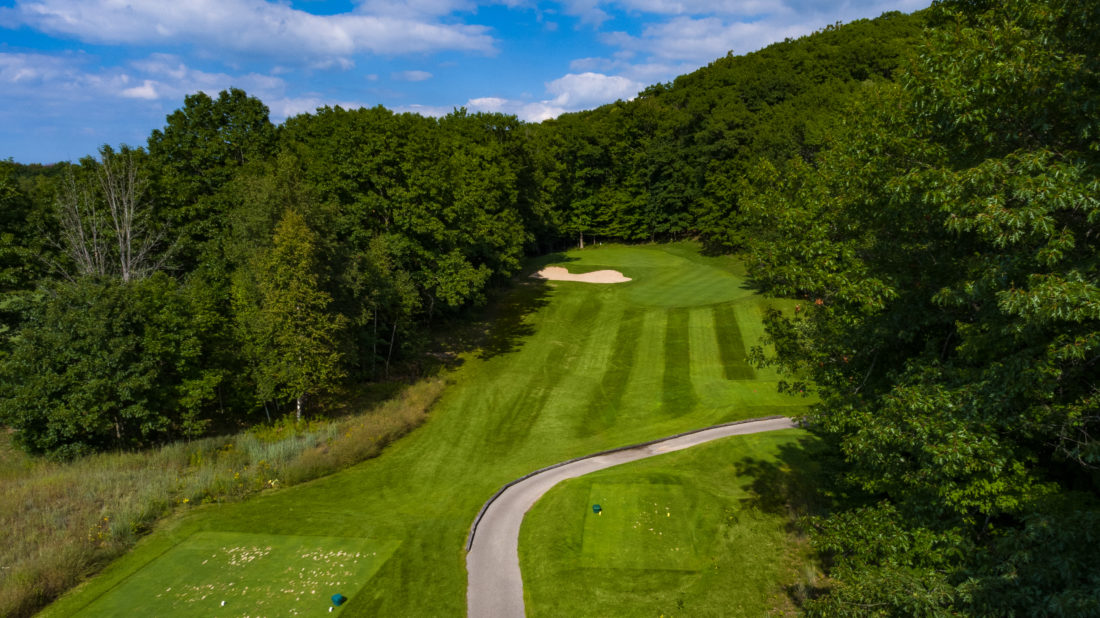
No 2 Par 4 | Handicap 13
Elevated tees provide a clear view of the carry and downhill landing area on this sharp dogleg left. The second shot is the opposite of the first as it is uphill to a well- protected and relatively small green.
Pro Tip: If you can, draw the tee shot for the best approach to an uphill green. Otherwise, favor right of center to avoid hardwoods on the left. Either way use one more club to carry a deep greenside bunker.
-
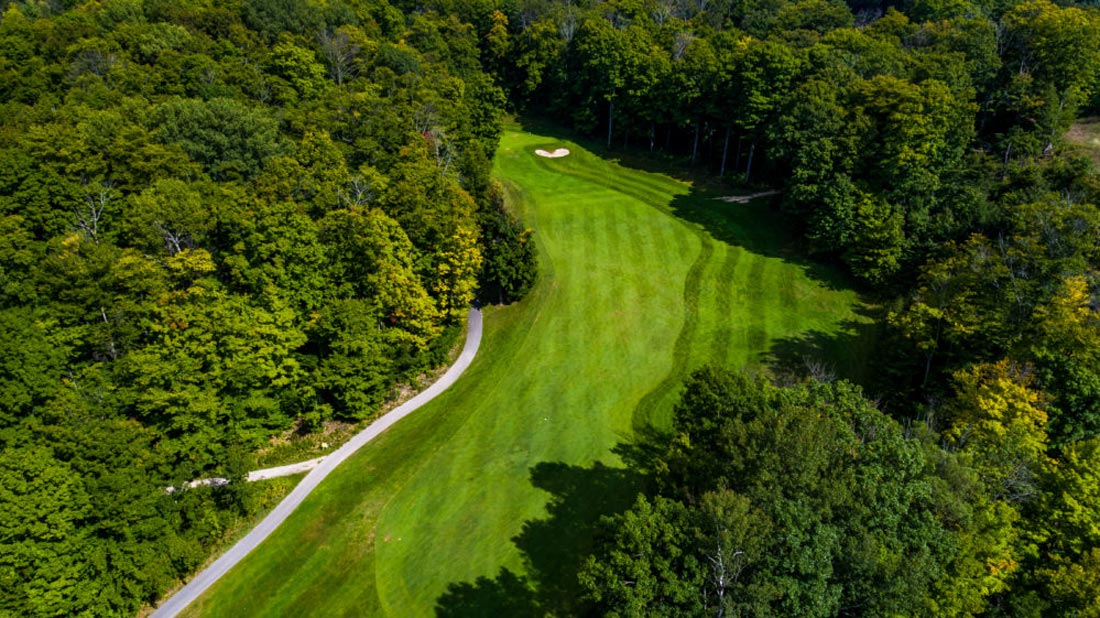
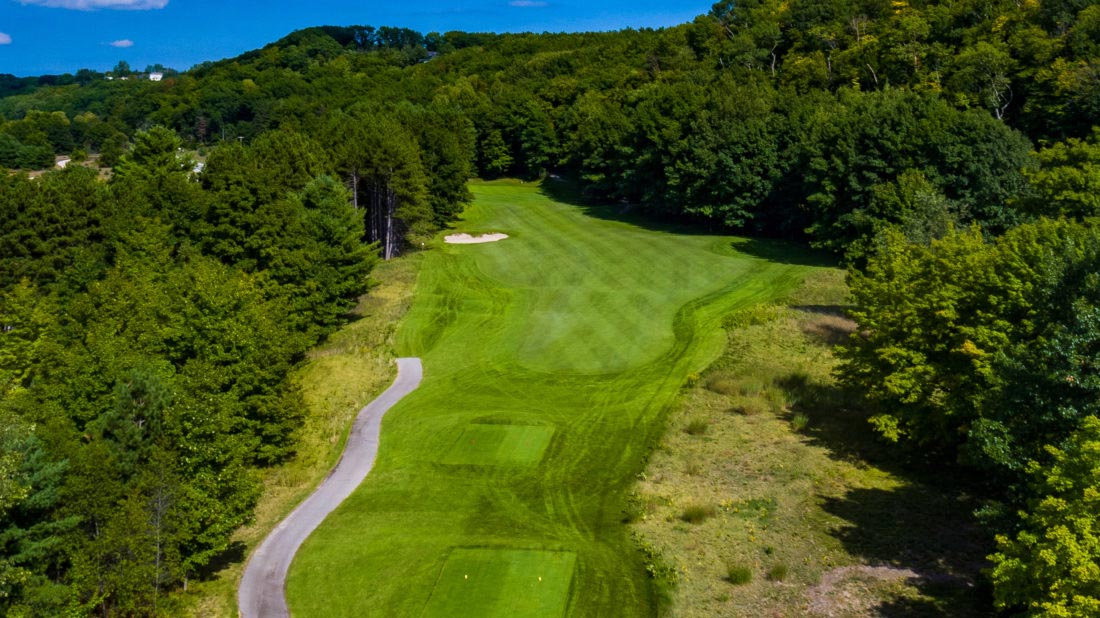
No 3 Par 3 | Handicap 17
A long and steep path leads to the top of the first of the major elevation changes on the course. The hole is an uphill Par 3 with a short, forced carry and trouble left and some right. Club selection is critical.
Pro Tip: Despite the tee shot being uphill, this hole usually plays downwind.
-
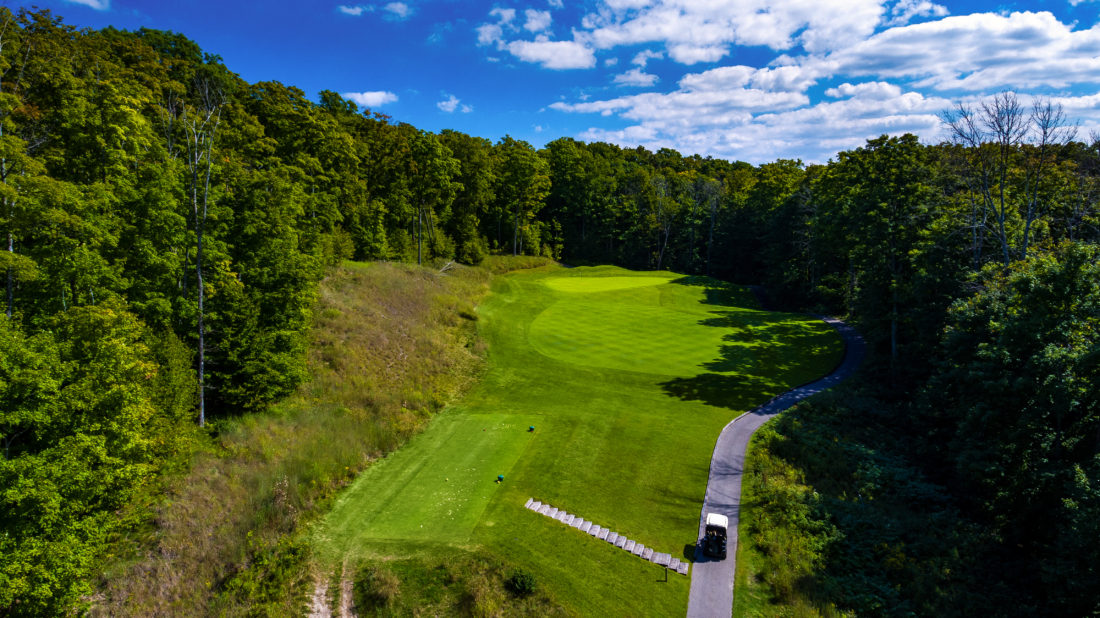
No 4 Par 4 | Handicap 5
Another steep path leads to the top of the second major elevation changes on the course. The dramatic drop from the tees will allow you to see trouble on the right and opportunity on the left but not the green.
Pro Tip: Slight dogleg right. Play to the left of the fairway for the best angle for the approach shot.
-
No 5 Par 5 | Handicap 3
The green is not visible from the tees, but the shot lines are well-marked by the fairway hazards that are to be avoided. If your tee shot is long, there may be an opportunity to go for the green in two. If shorter, choose your longest club for the second shot to save Par.
Pro Tip: Long, straightforward Par 5. Reachable in two for the longer player. Aim second shot at the greenside bunker in the distance.
-
No 6 Par 4 | Handicap 9
The handicap on this hole may understate its difficulty as the fescue that lines the left and right sides of the fairway from tee to green and can be trouble. So, too, can a large fairway bunker on the right. Those dangers put a premium on the accuracy of the tee shot.
Pro Tip: This tee shot is one of the most demanding on the course. Aim it inside the right fairway bunker for the best angle on the approach shot.
-
No 7 Par 3 | Handicap 11
Even though downhill, this Par 3 usually plays true its yardage. The left greenside bunker can be major trouble as it is deep and steep.
Pro Tip: If you find yourself in the bunker, you may want to play back and take a lower dose of your medicine.
-
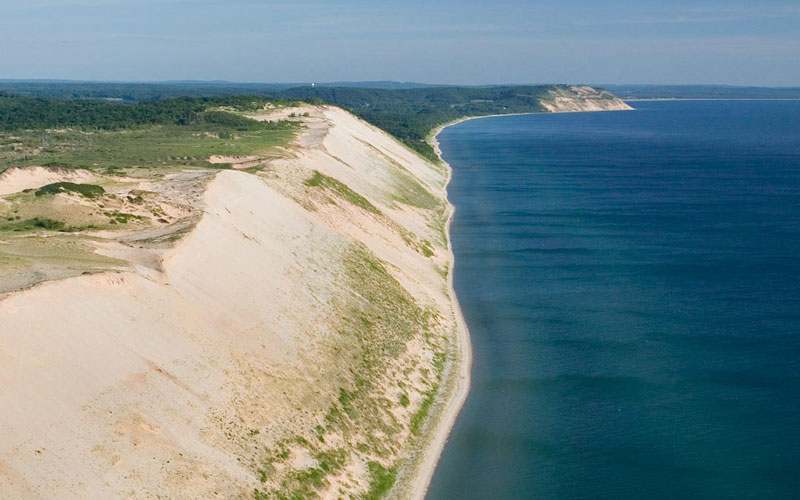
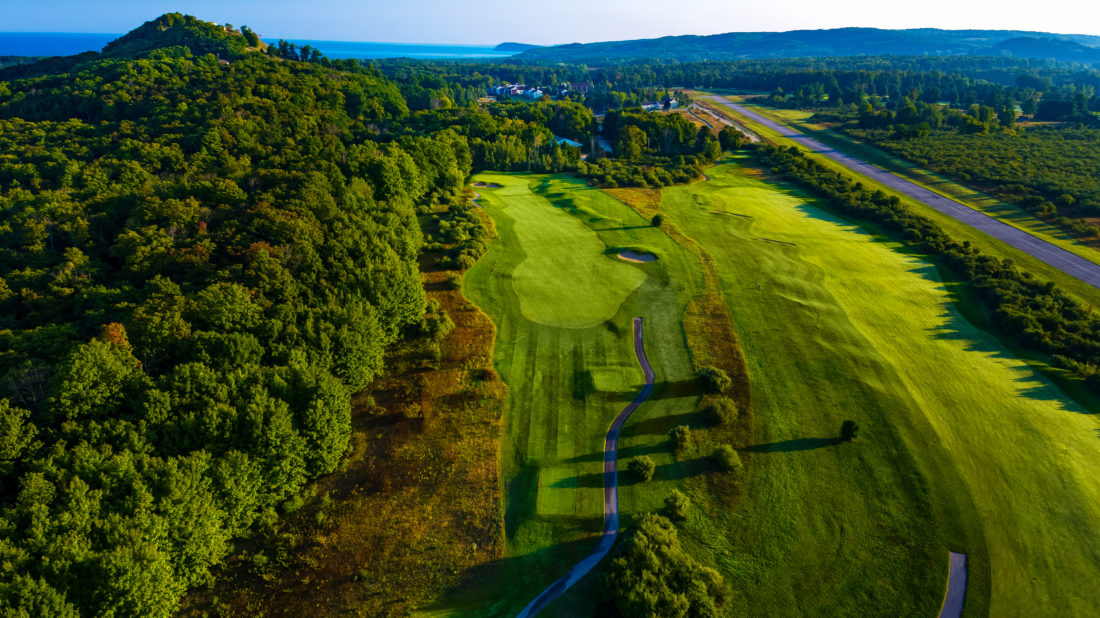
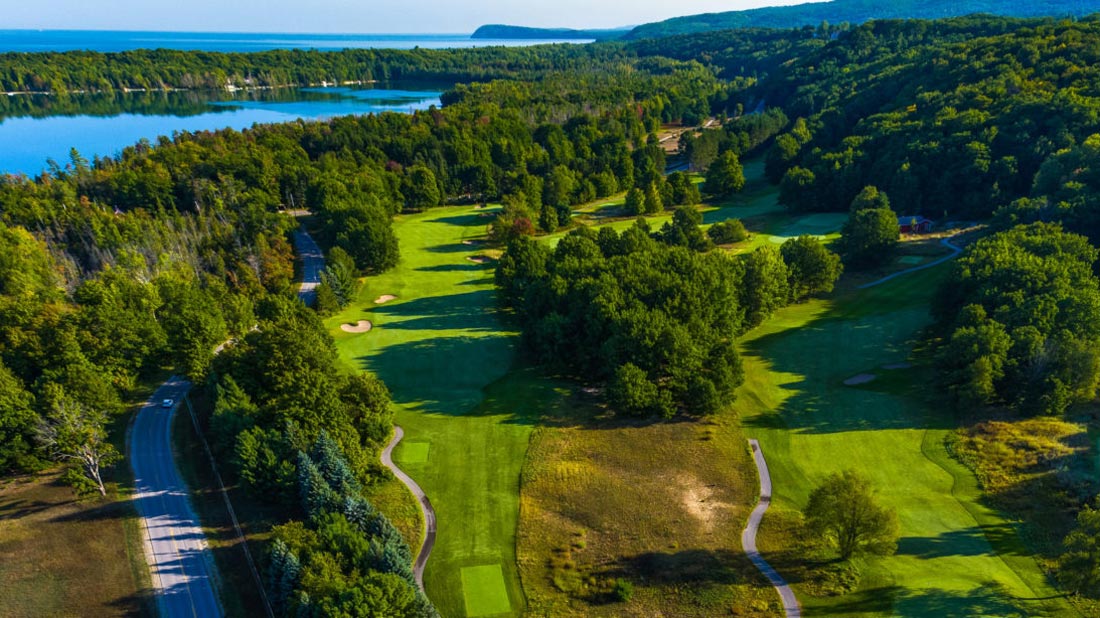
No 8 Par 5 | Handicap 1
Our signature hole offers spectacular views of the Manitou Passage, the North Manitou Island, and the Manitou Shoal lighthouse along with distant timbered ridges and lush valleys. The tees are at the highest point on the course, some XXX feet above the green. The shot from them requires a carry over a ravine from which recovery cannot be made.
Pro Tip: For nearly all players, this three-shot hole requires an accurate tee shot and a well-played second shot to have a short iron third shot. Be mindful at all times of the hazards that lurk off the tees and in front of the green.
-
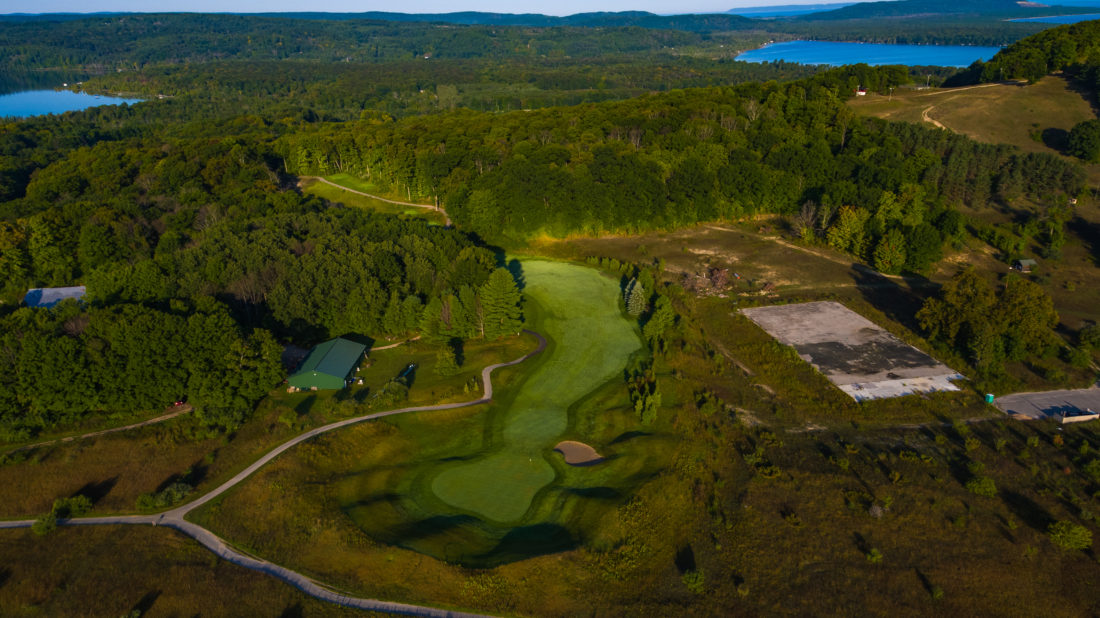
No 9 Par 4 | Handicap 15
This is one of the shorter Par 4’s on the course but is not to be taken lightly. It requires an uphill tee shot to an angled landing area and a downhill approach shot. If your tee shot is short, you will face a blind shot to the green.
Pro Tip: Accuracy is the key to this tee shot which should be right of center to the crest of the hill which bisects the fairway. This area offers a better angle to the green and view for the second shot.
-
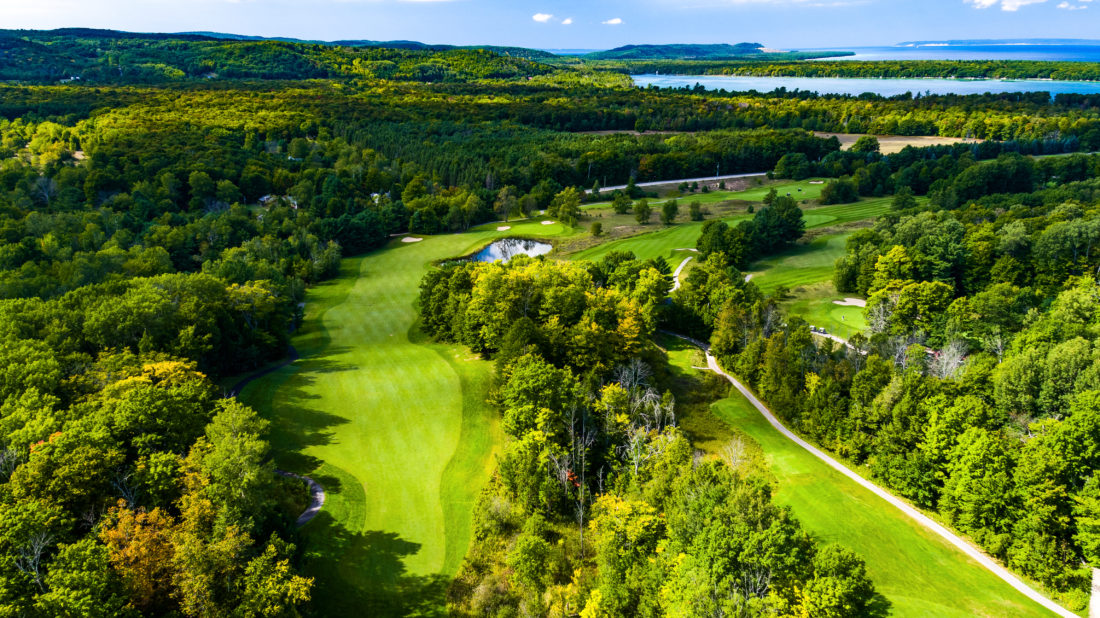
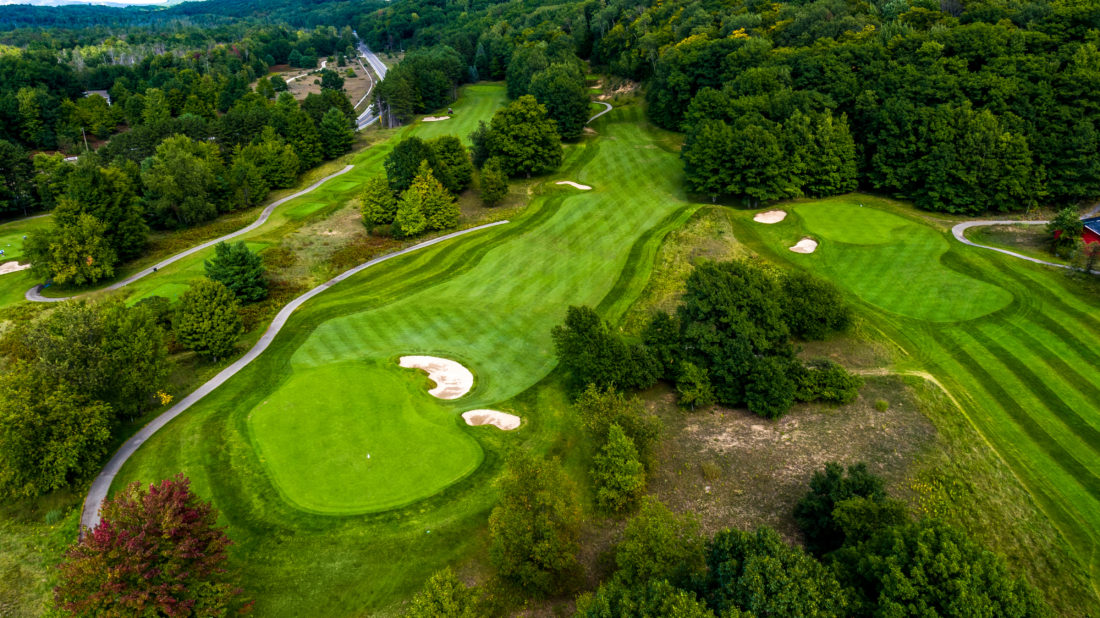
No 10 Par 5 | Handicap 6
Hole No 10 is another of the most visually pleasing holes on the course. It is a long Par 5 with bunkers on both sides of the fairway. The landing area was widened – it had been narrower than any Par 5 on the PGA tour – so you can go for distance if you respect the hazards.
Pro Tip: Plenty of room off the tee but second shot must avoid the fairway bunker that is on the right 150 yards from the center of the green. If you are playing cautiously, aim for the bail-out area to the left of the green.
-
No 11 Par 4 | Handicap 14
This straightaway Par 4 has a fairway bunker that is in front of a Pine Forest. They should be used to align your tee shot to land on the right side of the fairway and have the best angle to the green.
Pro Tip: This medium length hole has a wide landing area. Bunker on left side of the fairway must be avoided.
-
No 12 Par 4 | Handicap 4
Although this Par 4 is more visually inviting than intimidating, caution is in order. Challenging bunkers protect an elevated green that is angled to the fairway and has a tall and very steep back slope. Being short or long may leave a difficult wedge shot to the narrowest Part of the green.
Pro Tip: Most demanding tee shot on the course. Slight dogleg right has native hardwoods flanking the left and a penal bunker on the right side in the landing area. Green is tilted back to front to help long-iron approaches stay on the putting surface.
-
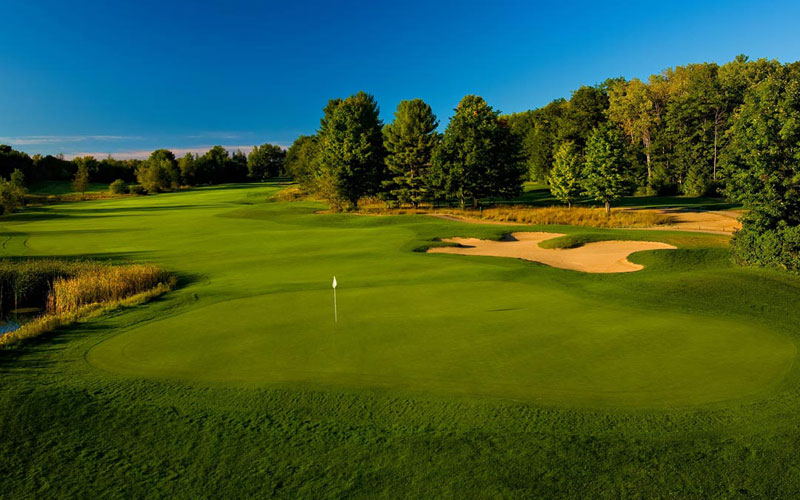
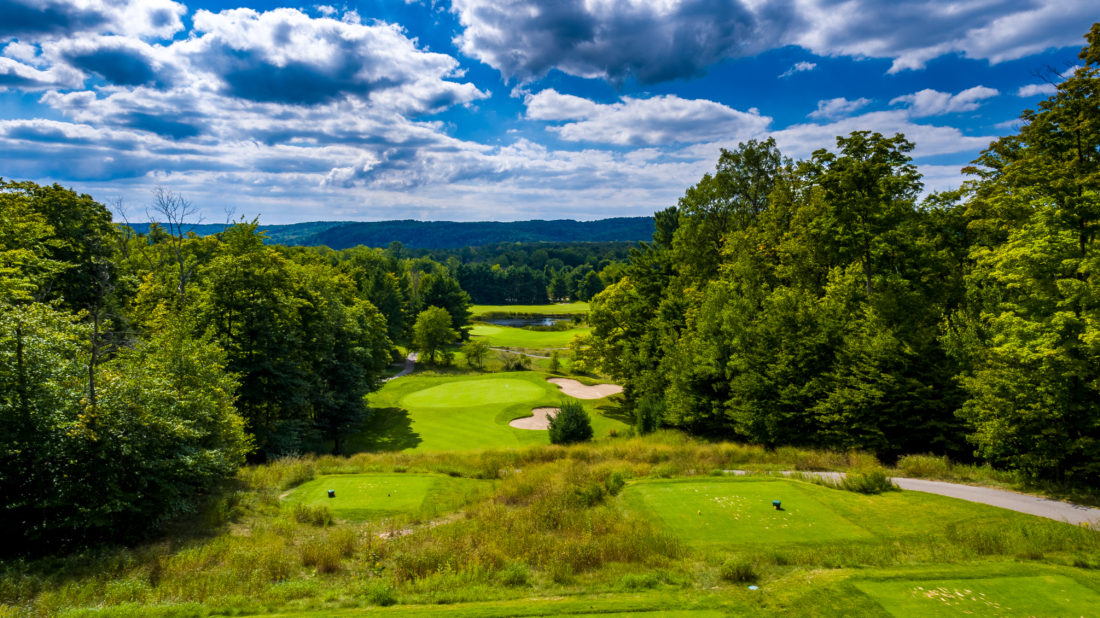
No 13 Par 3 | Handicap 16
This is the first and easiest of the Par 3’s on the back nine. It is protected by two deep greenside bunkers. A shot that misses to the left may be repelled into a unforgiving rough.
Pro Tip: Miss the green to the right for an easier chip to the narrow green.

-
No 14 Par 4 | Handicap 10
Elevated tees give you a splendid view of this beautifully designed hole with a narrow green that’s guarded on both sides by single trees.
Pro Tip: Accuracy is more important than length here as a carefully placed tee shot avoids the fairway bunkers on the left and sets up the approach to the green. Be cautious with your second shot as back bunkers await poorly struck short irons.

-
No 15 Par 3 | Handicap 12
This is an attractive Par 3 which calls for a high tee shot which lands away from the sloping front of the green and holds. The contours on the green are subtle but can be confusing. Read carefully especially when putting toward the bunker.
Pro Tip: The second of the three inward Par 3’s plays slightly uphill to a sloping green. The unforgiving front bunker will capture the tee shot of the player who under-clubs. Check the wind direction before selecting your club.
-
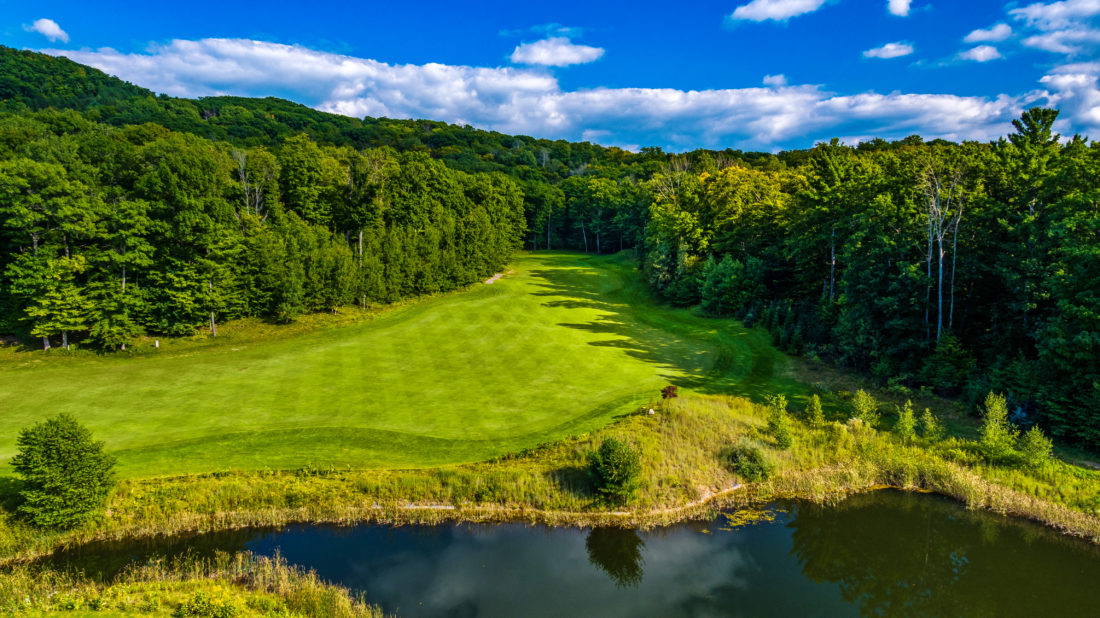
No 16 Par 4 | Handicap 2
This Par 4, which is a sharp dogleg left, is the second most difficult hole on the course. The long view down the pond on the right is beautiful but need not be worrisome as your tee shot should be to the right of center in the landing area. Avoid being long off the tee to miss what could be an angled lie in tall grass.
Pro Tip: Maneuver a fade off the tee. From there, use more club than the yardage suggests as the second shot is uphill all the way to a deep front to back sloping green.
-
No 17 Par 3 | Handicap 8
This stunning Par 3 is one of the most picturesque holes on the course but is also the most challenging of the Par 3’s. The tee shot plays about 80 feet downhill to a green guarded on the right by two deep bunkers. Favor the left front.
Pro Tip: The tee shot can play two clubs less but must be made with careful consideration of the wind that is often into the player. Short is acceptable here as there is safety in front of the green.
-
No 18 Par 5 | Handicap 18
This is a true risk and reward Par 5 as longer players can go for the green in two or lay-up to protect Par. The green is protected by water on the front and right and triple bunkers on the left. Trust the GPS yardage on the approach, avoid the hazards and hole out to please the gallery on the clubhouse terraces.
Pro Tip: Aim your tee shot to the right of center of the fairway as the mounding will add yardage to you shot. A bail out area short and left gives an errant shot a chance at Par.